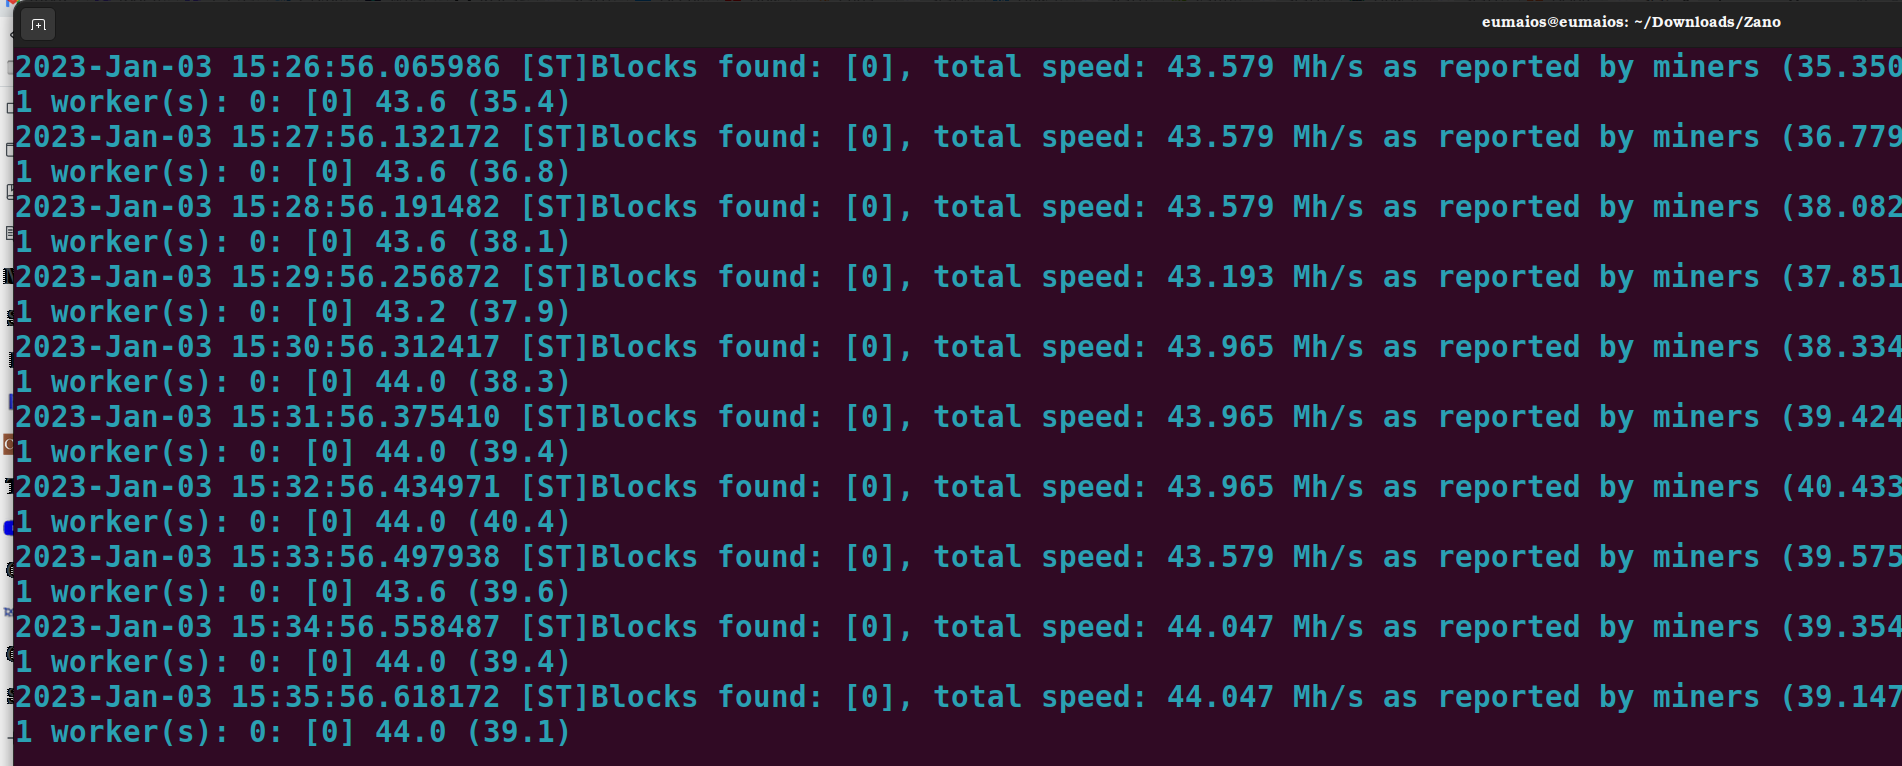
Linux (AMD)
Solo Mining in Ubuntu (AMD)
Step 1: Synchronize the Daemon
Open a terminal in the directory with zanod, and run it: 1
./zanod
Allow the daemon to synchronize, while we complete other steps.
Step 2: Install Wildrig Miner2
Open another terminal within the same directory. Create a new directory for Wildrig and enter it:
mkdir wildrig
cd wildrig
Within wildrig directory, give the following command to download the miner:
wget https://github.com/andru-kun/wildrig-multi/releases/download/0.36.6b/wildrig-multi-linux-0.36.6b.tar.xz
Extract and then remove the original .tar file:
tar -xf wildrig-multi-linux-0.36.6b.tar.xz
rm wildrig-multi-linux-0.36.6b.tar.xz
Leave this directory open; we'll return to it soon.
Step 3: AMD Driver Installation
Since Ubuntu doesn't come with AMD's OpenCL driver, which is necessary for mining, you'll need to install that. But it also requires very specific AMD driver software (22.40): we've found no other that successfully installs.
-
First, we must get the driver installer itself. Go to your Downloads directory and give the following commands:
sudo apt update
sudo apt upgrade
a) If running Ubuntu 20.04 LTS:
wget https://repo.radeon.com/amdgpu-install/22.40/ubuntu/focal/amdgpu-install_5.4.50401-1_all.debb) If running Ubuntu 22.04 LTS or 22.10:
wget https://repo.radeon.com/amdgpu-install/22.40/ubuntu/jammy/amdgpu-install_5.4.50401-1_all.debNow, if you already have any AMD drivers installed other than 22.40, you'll need a few extra steps, provided in the following footenote 3.
If there are no other AMD drivers on your rig, proceed to install the driver installer and enable the proprietary repository:
sudo apt install ./amdgpu-install_5.4.50401-1_all.deb
sudo sed -i 's/#deb/deb/g' /etc/apt/sources.list.d/amdgpu-proprietary.list -
If everything went smoothly, the driver can now be installed:
amdgpu-install --opencl=legacy,rocr --usecase=workstation,graphics --no-32If successful, reboot:
sudo reboot -
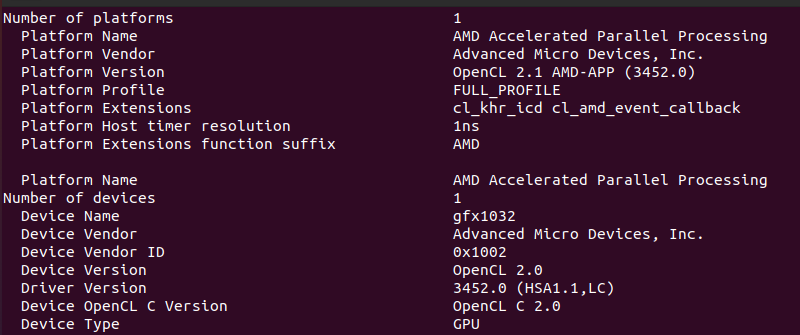
To determine whether the driver was properly installed, we need the application clinfo. Install that, and then check for your GPU: 4
sudo apt install clinfo
sudo clinfo
You should see something like the following, with OpenCL under both "Platform version" and "Device version."
Step 4: Starting Wildrig Miner
Once your node is fully synced, stop it (ctl+c). In the same terminal, restart zanod with the following flags, substituting your wallet address for <YOUR_WALLET_ID>
./zanod --stratum --stratum-bind-port=11555 --stratum-miner-address=<YOUR_WALLET_ID>
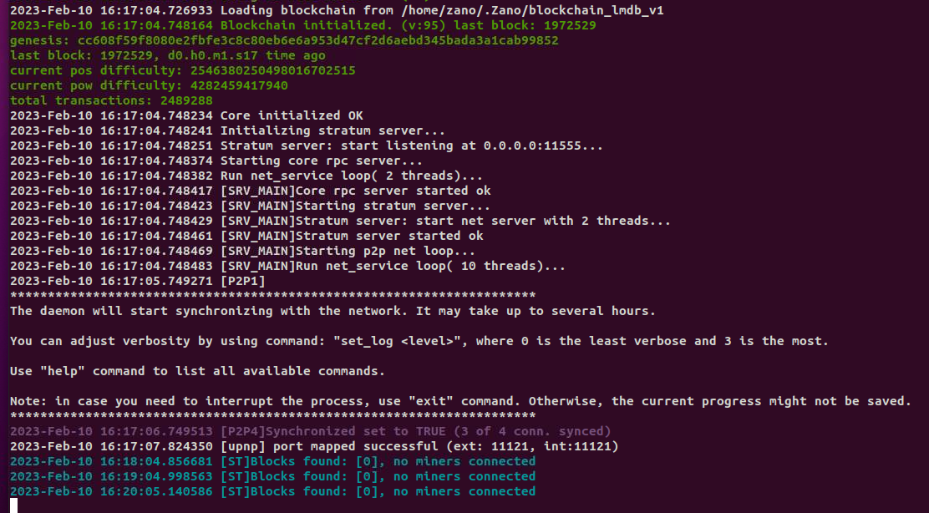
The daemon should start, displaying this screen.
You're ready to begin mining.
Return to your wildrig directory and run Wildrig, again substituting your wallet address for <YOUR_WALLET_ID> :5
cd wildrig
sudo ./wildrig-multi --print-full --algo progpowz --protocol ethproxy -u miner -o 127.0.0.1:11555 -w worker1 -p x
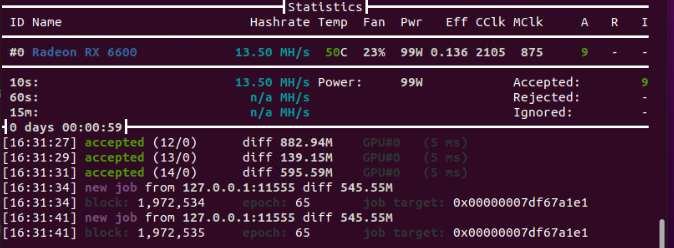
The miner should start, displaying your statistics:
And if you switch to the terminal with your daemon running, you should now see this: